Automatically turn images into a slideshow using FFmpeg and Editframe (Updated)
Published on June 8, 2023
Last updated on September 25, 2024
6 min read
You might not associate the word “slideshow” with new, modern, technology-forward presentations. But from sales and marketing assets to social media content, this tried-and-true storytelling method is still alive and well in the digital age. With the right editing, slideshows can make for an eye-popping way to show off your brand, promote an event, or elevate the look of your social media feeds.
In this tutorial, we’ll show you how to programmatically create a slideshow by merging and combining multiple images into a single video using two methods: FFmpeg, and Editframe. The final output will be a video MP4. You can even take this a step further and use either FFmpeg or Editframe (whichever method best suits you) to incorporate audio and transition effects that take your slideshow to the next level.
By the end of this tutorial, you’ll know how to make an amazing photo or video slideshow programmatically and at scale, and you’ll forget all about the dusty projector in your grandma’s basement.
Let’s get started.
File assets
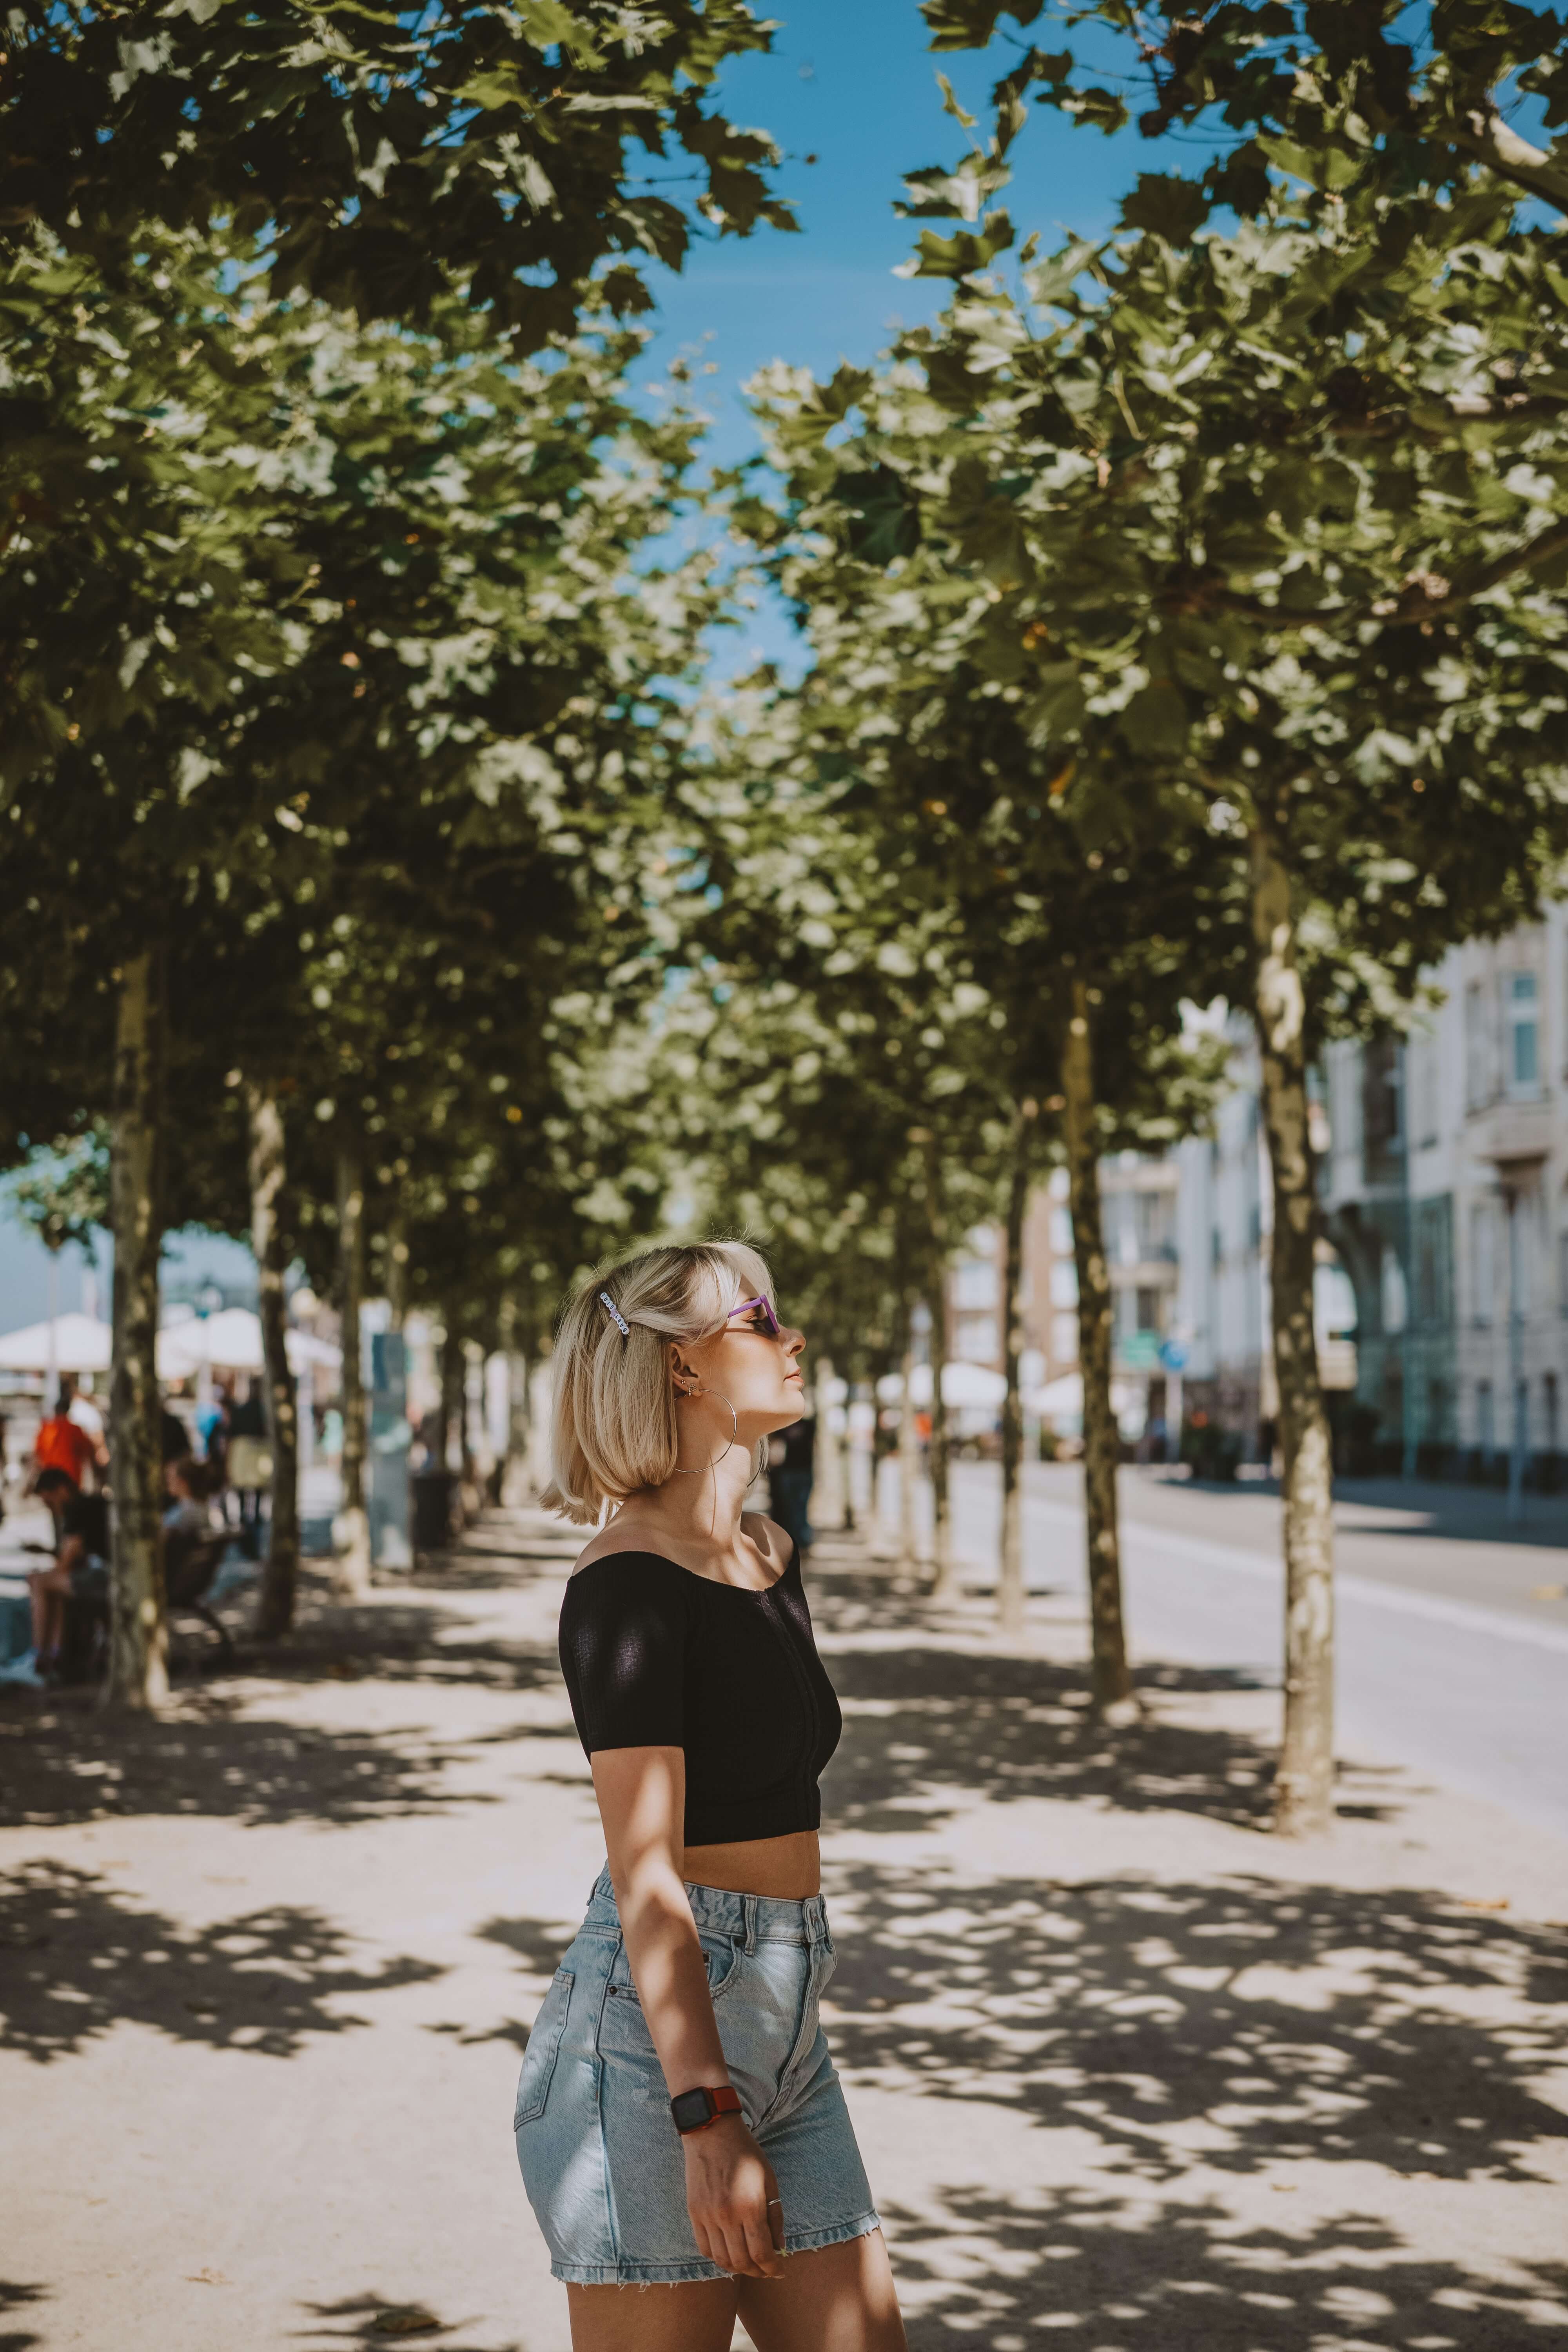
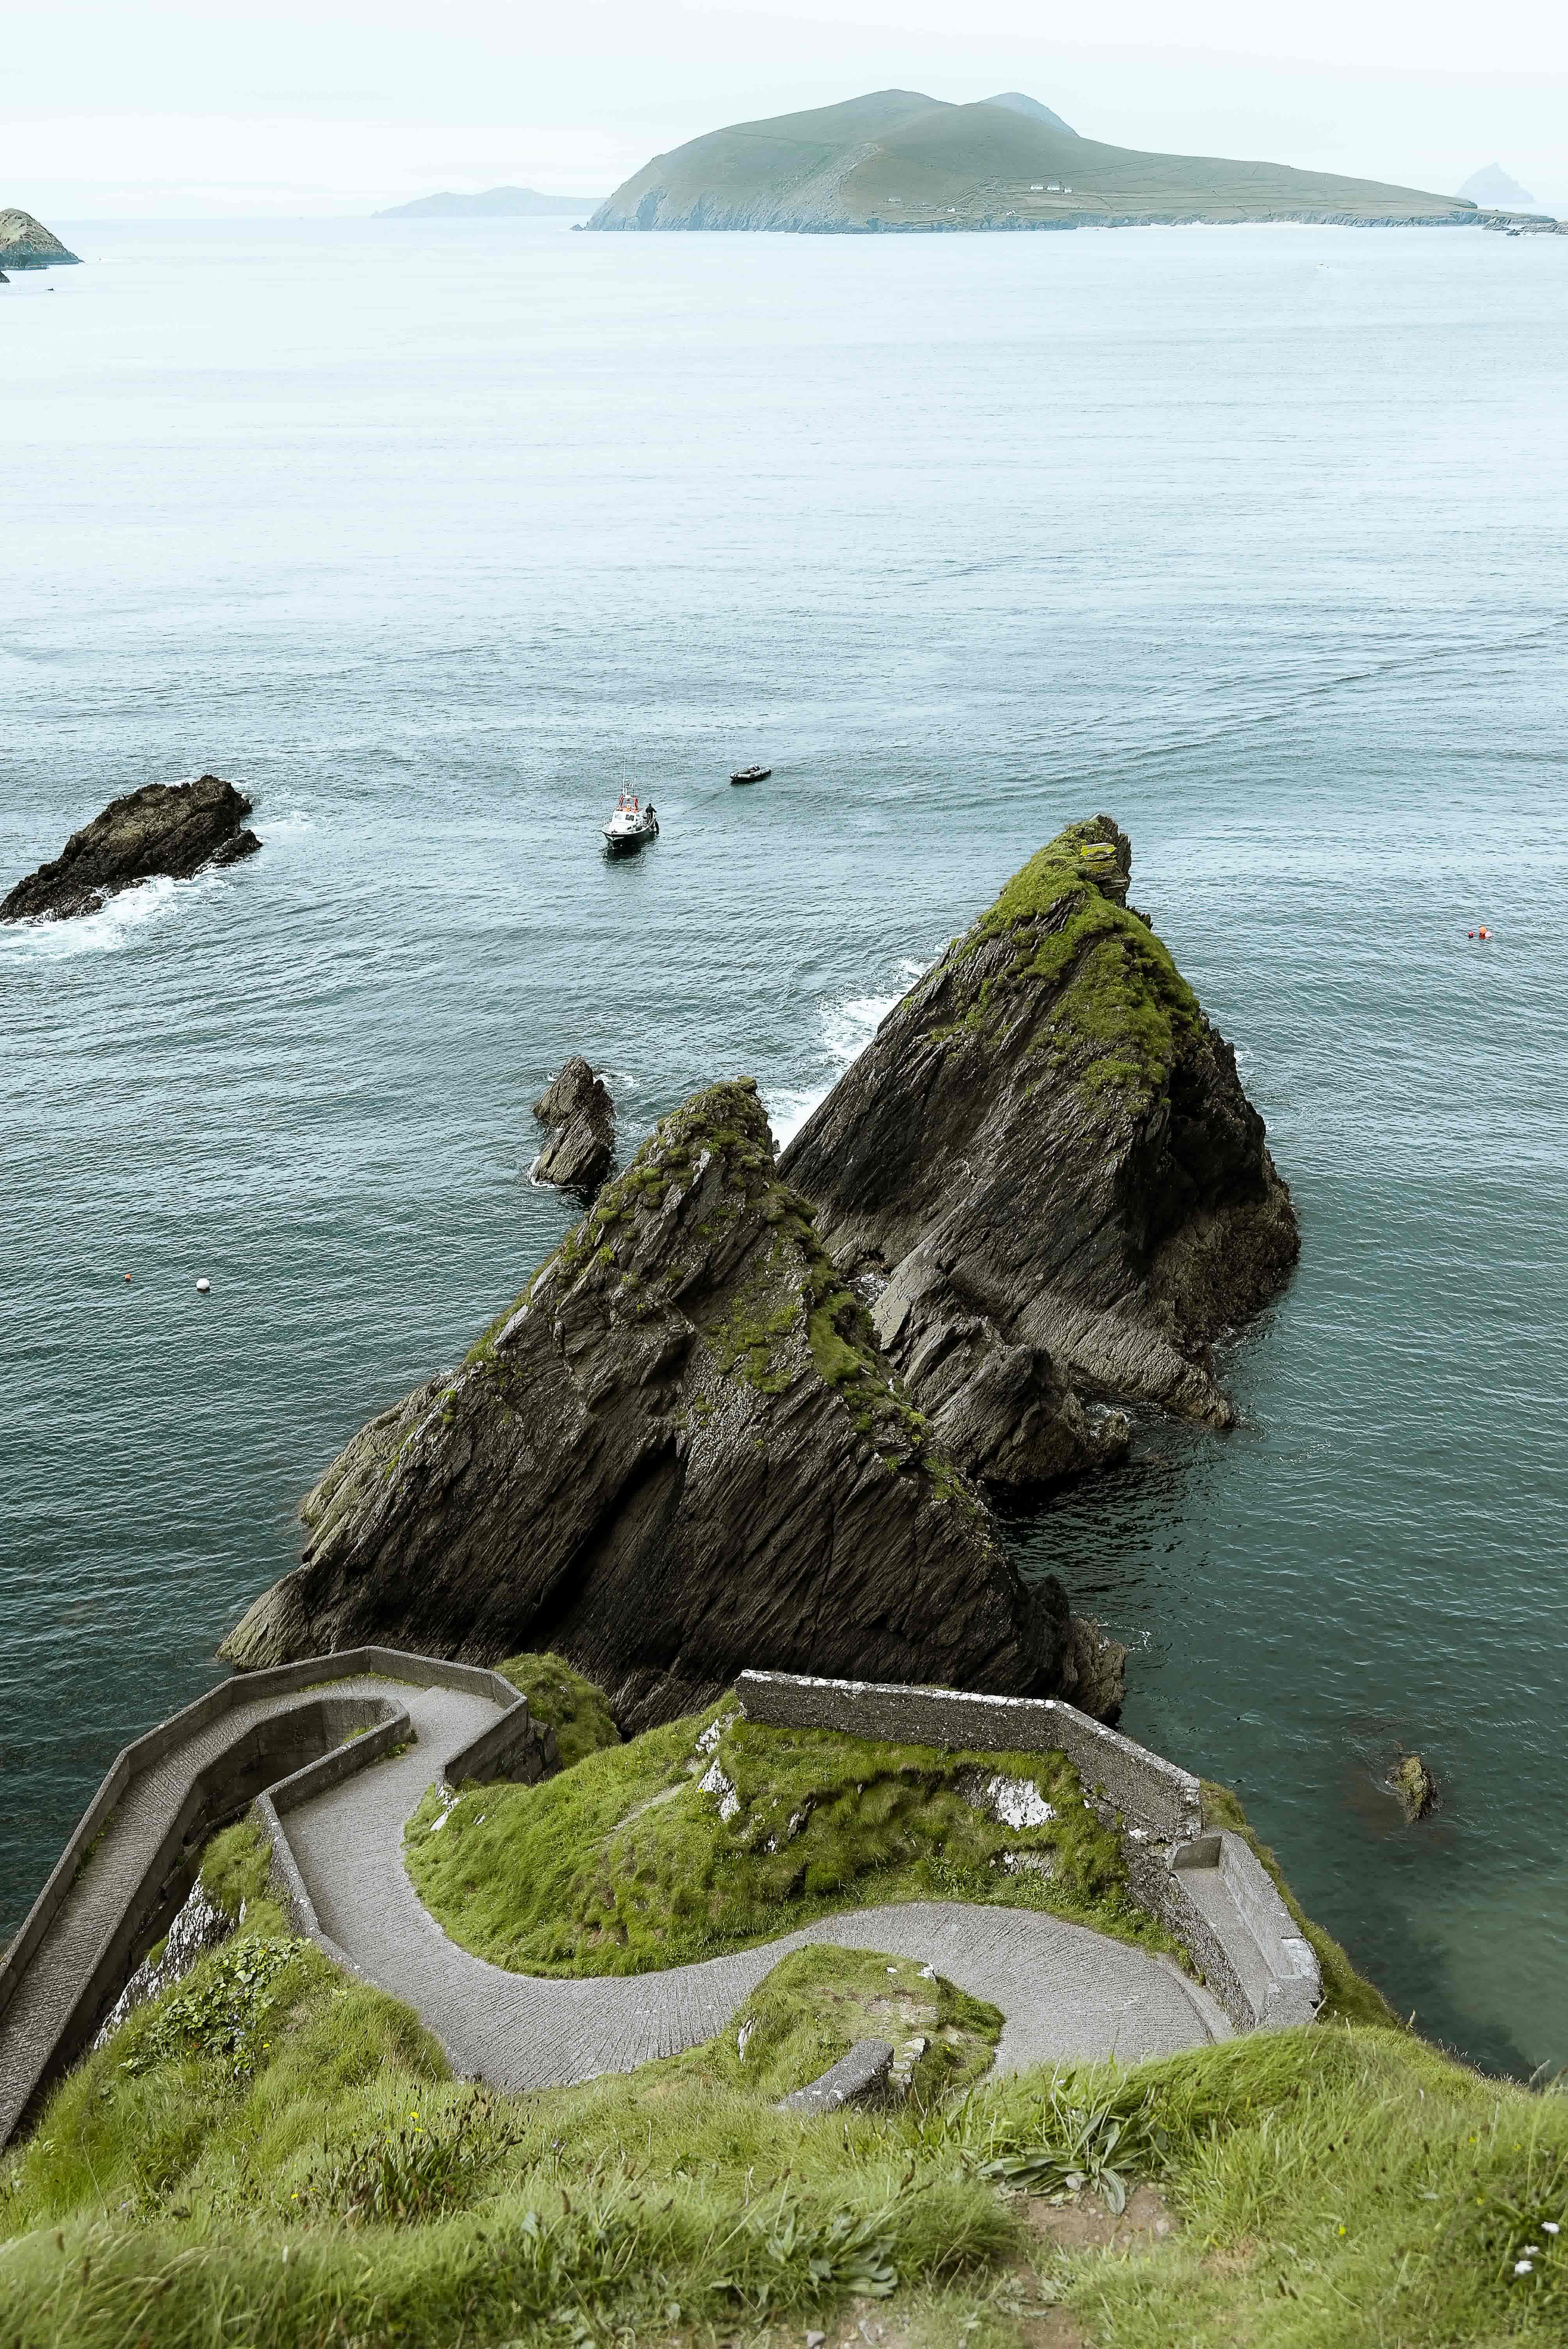
Here are the sample image files provided by unsplash.com(opens in a new tab) that we will use in our tutorial:
file1.jpg

file2.jpg
file3.jpg
Part 1: Using FFmpeg
First, we’ll walk through this workflow using FFmpeg.
Required Tools
- Sample video and audio files (provided above)
- FFmpeg(opens in a new tab): (You’ll need to install FFmpeg and set up the appropriate environment variables before beginning this tutorial)
- Create a video.txt file.
touch video.txt- Paste the path to use the images for the video in
video.txt. For example:
file '/Users/mac/dev/ffmpeg-tutorials/file1.jpg'
duration 4
file '/Users/mac/dev/ffmpeg-tutorials/file2.jpg'
duration 2
file '/Users/mac/dev/ffmpeg-tutorials/file3.jpg'
duration 2- Run this script to import all images and make a video from them:
ffmpeg -safe 0 -f concat -i video.txt -c:v libx264 \
-vf "scale=1080:1920:force_original_aspect_ratio=increase,crop=1080:1920" -pix_fmt yuv420p slideshow.mp4
Let’s break down what the code above is doing.
- In this line, we concat all images inside video.txt, and disable file safety using
-safe 0. We also set the video encoder tolibx264:
ffmpeg -safe 0 -f concat -i video.txt -c:v libx264- In this line, we will resize and crop all images to 1080x1920 while keeping their aspect ratio. We also add the pixel format to render images
-pix_fmt yuv420p:
-vf "scale=1080:1920:force_original_aspect_ratio=increase,crop=1080:1920" -pix_fmt yuv420pslideshow.mp4
Using named files
- In this folder, we’ll have file1.jpg, file2.jpg, and file3.jpg. Instead of adding their path manually, we can use this method to add all of them:
ffmpeg -framerate 1 -i file%d.jpg -vf "scale=1080:1920:force_original_aspect_ratio=increase,crop=1080:1920" -c:v libx264 -pix_fmt yuv420p output.mp4Let’s break down the code above.
- In this line, we specify a frame rate of one frame per second, and import all of our files with
file%d.jpg:
ffmpeg -framerate 1 -i file%d.jpg- In this line, we resize and crop all images to 1080x1920 while keeping their aspect ratio. Also, we specify the pixel format for rendering out images with
-pix_fmt yuv420p:
-vf scale=1080:1920 -c:v libx264Here is the output video from the FFmpeg command:
slideshow.mp4
Part 2: Using Editframe
Now let’s perform the same task using Editframe instead of FFmpeg.
Required tools:
- Node.js installed on your machine
- No need to have FFmpeg installed on your machine
- Editframe API Token (you can create an account from this link(opens in a new tab))
Let’s get started:
- Setup a new Node.js project using the Editframe CLI:
npx @editframe/create@beta- Install the required dependencies:
cd slide-show-images && npm install- Add assets to the project:
Add file1.jpg, file2.jpg, and file3.jpg to the src/assets folder.
- Update the
index.htmlfile with the following code:
<!DOCTYPE html>
<html lang="en">
  <head>
    <meta charset="UTF-8" />
    <script type="module" src="./src/index.js"></script>
    <link rel="stylesheet" href="./src/styles.css" />
  </head>
  <body>
    <ef-timegroup
      mode="sequence"
      class="w-[1080px] h-[1920px] relative overflow-hidden"
    >
      <ef-timegroup
        mode="fixed"
        duration="4s"
      >
        <ef-image class="w-full object-cover object-center" src="/assets/file1.jpg"></ef-image>
      </ef-timegroup>
      <ef-timegroup
        mode="fixed"
        duration="2s"
      >
        <ef-image class="w-full object-cover object-center" src="/assets/file2.jpg"></ef-image>
      </ef-timegroup>
      <ef-timegroup
      mode="fixed"
      duration="2s"
    >
      <ef-image class="w-full object-cover object-center" src="/assets/file3.jpg"></ef-image>
    </ef-timegroup>
    </ef-timegroup>
  </body>
</html>
Let’s walk through what the code in this file is doing.
- In these lines, we import the
index.jsfile and thestyles.cssfile which contains the styles for the video and@editframe/elements:
<head>
    <meta charset="UTF-8" />
    <script type="module" src="./src/index.js"></script>
    <link rel="stylesheet" href="./src/styles.css" />
</head>- In this line, we create a new video composition using the
ef-timegroupelement.
<ef-timegroup
      mode="sequence"
      class="w-[1080px] h-[1920px] overflow-hidden"
    >
    { /* Add elements here */ }
</ef-timegroup>- In these lines, we add a timegroup where we will have the
ef-imageelements:
<ef-timegroup
    mode="fixed"
    duration="4s"
  >
  { /* Add elements here */ }
</ef-timegroup>- In these lines, we add a black overlay with the quote text in the center of the video:
<div class="bg-black/50 w-full h-full z-[100] relative flex flex-col  justify-center items-center">
    <h1 class="text-white text-left px-6 text-[120px]">“We cannot solve problems with the kind of thinking we employed when we came up with them.” — Albert Einstein</h1>
</div>- In these lines, we import each image as a timegroup element to make a sequence of images:
<ef-timegroup
    mode="fixed"
    duration="4s"
  >
    <ef-image class="w-full object-cover object-center" src="/assets/file1.jpg"></ef-image>
  </ef-timegroup>
  <ef-timegroup
    mode="fixed"
    duration="2s"
  >
    <ef-image class="w-full object-cover object-center" src="/assets/file2.jpg"></ef-image>
  </ef-timegroup>
  <ef-timegroup
  mode="fixed"
  duration="2s"
>
  <ef-image class="w-full object-cover object-center" src="/assets/file3.jpg"></ef-image>
</ef-timegroup>-
ef-imageis an Editframe element that allows you to add images to your video.
- Preview the project:
npx vite .- Update the
.envfile with your Editframe API token:
EF_TOKEN="YOUR_API_TOKEN"- Render the video:
npx @editframe/cli render .Here is the output video from the Editframe API:
editframe-slideshow.mp4
Note: You can also add transitions, filters, trim videos, and much more using the Editframe compositional API. Learn more about using Editframe at the Editframe API docs.
Comparison video between FFmpeg and Editframe API
Here is a comparison of the videos created with FFmpeg (left) and Editframe (right):